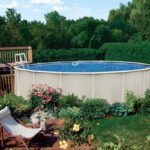
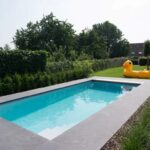

Pool Maintenance Guide
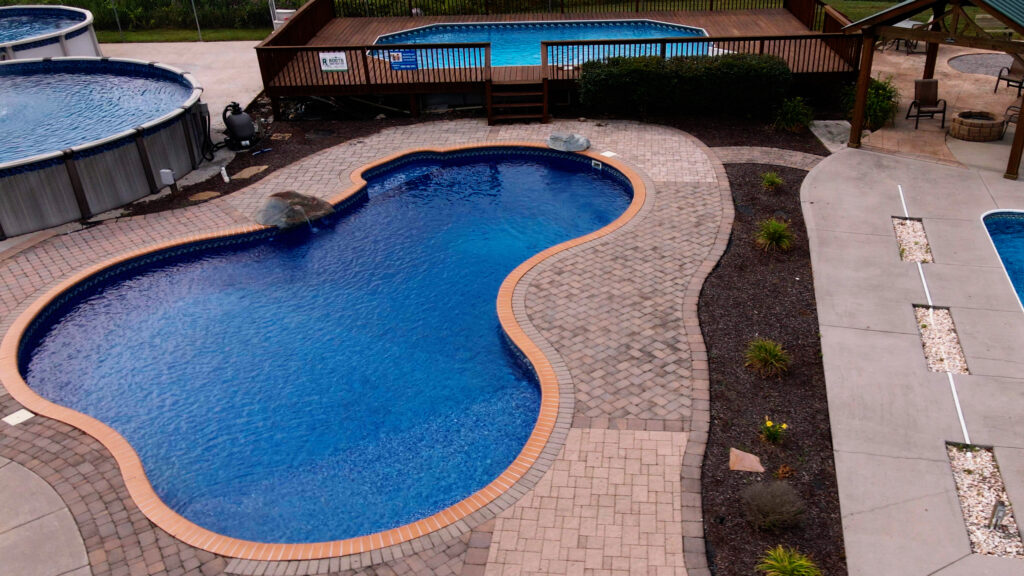
A regular maintenance program will help prevent problems with the pool and the pool water. There are many elements that can influence the clarity and purity of the water. To keep the water looking clean, clear, and refreshing, one must take the time to care for the pool.
Unfortunately, there is not a system that will take care of everything on its own. Adding chemicals and testing the water should be on a weekly maintenance routine. Brushing the pool bottom and walls is always helpful to remove or loosen any unwanted substances and should also be on a weekly maintenance routine. Vacuuming is really up to your view on the appearance of the pool. Taking the chance of not maintaining the pool is very risky. Even though you may not be able to see any algae, there can be bacteria, viruses, and even fungus that could be harmful if water is not treated correctly. This is why it is very important to keep a weekly maintenance routine. If you do not feel comfortable with testing water or need any advice please give us a call and we will be glad to help you in any way we can.
Thanks – Aurora Front Counter Staff
What Are Balancers?
PH- is the measurement of how basic or acidic your water is. PH has adjusters that can lower or raise your level. The PH also helps whatever sanitizer you are using work better. When the pool is too acidic your eyes and nose may burn, swimwear can fade, and skin may become itchy or dry. When the pool is too basic water may start to become cloudy/murky and also may start to burn your eyes.
Products needed : PH too high = PH Decreaser or Muratic Acid
PH too Low = PH Increaser
Alkalinity – When the Alk is within the right range it will help prevent rapid PH changes. Alk has adjusters that can lower or raise your level. If the Alk is too low the pool walls and floor can stain, the water can turn green or cloudy, and eyes may burn. If the Alk is too high the PH is difficult to adjust, the water may become cloudy, and the sanitizer loses its efficiency as a disinfectant.
Products needed: Alk too high – PH Decreaser or Muratic Acid
Alk too low – Total Alkalinity Increaser
Calcium Hardness – is the mineral content of the water. If the calcium hardness is too low the water can become corrosive. Which means metals corrode including pool equipment, pipe fittings and pump connections. As a result, the pool bottom and walls will develope a stain of calcium deposits. If the level is too high the result will be scale formation on all pool surfaces. The filter and pipes may become clogged, may reduce the flow of water and the filtration efficiency.
Products needed: Calcium can always be raised with Hardness
Increaser but the only way to lower the level is to drain partially and
refill with fresh water.
Multi-Port Valve Positions
Filter – this is the pools main setting. The filter will stay on this position unless you are performing
another task.
Backwashing – to clean the filter. It redirects the flow of water that runs through the filter and pushes out unwanted dirt and debris. Water will shoot out pretty hard through the backwash port. DON’T STAND IN FRONT OF THIS PORT!!!!
Rinse – rinsing the filter will help prevent any access dirt that might return into the pool after backwashing. If this stepped is missed then you will probably see a nice white cloud coming out of your return (jet). This would be the unwanted dirt.
Waste – this is a great way to rid your pool of larger or a lot of debris such as leaves, algae, etc. This positon will prevent any debris going through your filtration system while vacuuming. The water will lower very quickly while on this setting. It helps to have the garden hose in the pool filling while you are vacuuming.
Recirculate/Bypass Pool – names mean the same and are not used very often. The purpose of this position is to bypass the sand of the filter. It is used mostly for pinpointing problems in the filtration system.
Closed – will close off all ports to the valve. Only used when filter/pump does not need to be running.
Winterize – will leave ports partially open to equalize pressure. Only needed during winter.
Filtration Information
- The water level inside the pool should be to the 3rd screw from the bottom. Little more than half way. ( A low water level can allow air to get into your filtration which will decrease your water pressure)
- The return (where the water comes into the pool) should be facing downward and to the side to circulate the bottom of the pool. If you are seeing ripples on top of your water, you need to adjust this part.
- The Filter System has 5 basic parts: the multiport valve (top of the tank with positions), the tank (where the sand is located), the pump basket or also known as the hair/lent pot (is attached to the pump and catches debris that get by the skimmer basket), the pump that moves the water and then the motor.
- Whenever moving the valve handle, always turn the motor off and move it in a clockwise direction only. Not back and forth.
- When first opening or reopening your pool do the following steps :
- Turn the valve handle to backwash (remember clockwise direction)
- Turn the pump on for 12 minutes.
- After backwashing is done, turn the pump off and move the valve to rinse.
- Turn the pump on and rinse for 3040 seconds or till the water is clear.
- After rinsing, turn the pump off and move the valve to the filter.
- Once on the filter turn the pump on and leave it in this position. The water will start to circulate through the filter system and into pool.
- There is a pressure gauge attached to the valve. This is the pressure that is in your tank. Normal-pressure for an A/G pool is usually between 8ppm – 15ppm. When your gauge reads 10ppm over your normal then you will need to do steps af, which is called the backwashing cycle. (May need to be done after vacuuming, or heavy rain)
- If your pump has 2 speeds, it is best to leave the pump on high whenever swimming, adding chemicals or the hottest part of the day. You will however get the best water results if you allow the pump to run on high 24-7.
- Fun fact! The more you swim = The better the pool stays
Vacuum Instructions
These instructions are for using a suction type vacuum. ( Manual or Automatic)
First – When ready to vacuum, place the entire cleaner in the pool. Hold one end of the hose in front of the return. The water pressure from the return will force out any air that might be in the vacuum hose and the hose will fill with water correctly. Prevents air from getting into your filtration which will not allow the vacuum to work.
Second – When the hose is filled, turn the pump off. For an automatic cleaner you will remove the skimmer basket and place the hose and attachment down the skimmer hole. If you are using a manual vacuum you will leave the skimmer basket and place a vac plate on top and attach your hose. Turn the pump on and the cleaner should have suction from the bottom or if auto then will start moving.
Third – Once your pool is clean, backwashing is the last step. This will help eliminate any debris that may have gotten past your baskets and into your
sand. Always rinse and place back on the filter.
Recommendations:
Automatic cleaners should not be left in pool for more than couple hours. Most automatic vacuums should clean within this time.
Automatic cleaners may not work properly in extremely cold water.
Doesn’t mean it is broken.
If you have large debris in your pool such a leaves, a manual vacuum is the best to use. The debris must go through 2 baskets in order to get into your sand. An automatic cleaner has only the pump strainer basket to go through.
When vacuuming on waste, you must use a manual vacuum. An automatic vacuum will NOT work.
Call Us to Learn more about Pools, Spas, and More!
Knoxville
(865) 686-0004
Morristown
(423) 317-7222